Thursday, October 10, 2013

I'm Back!

Well after my unintentional 6+ month hiatus - I'm back!

We had such a busy summer that there was no time for blogging and not much time for sewing either!

We went to Acadia National Park & The Great Smoky Mountain National park among other trips and had a fun filled summer.


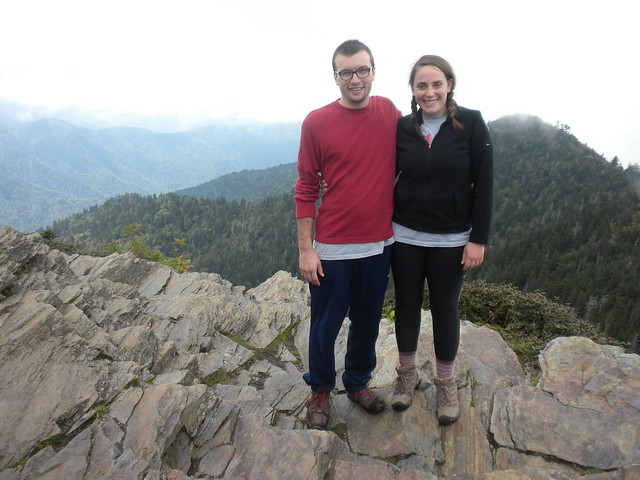
Great Smoky Mountains
Hiked to the top of Mt LeConte!
Great Smoky Mountains
View from Chimney Tops
Now that fall is here things have become a bit less hectic so I should have more time to devote to sewing.

I just finished up some bee blocks and have a few tops ready for quilting so there will be more to share soon.


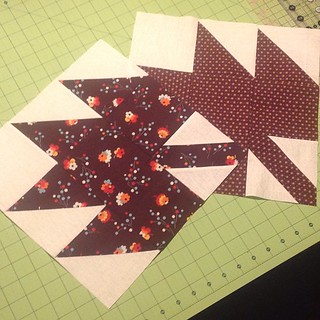
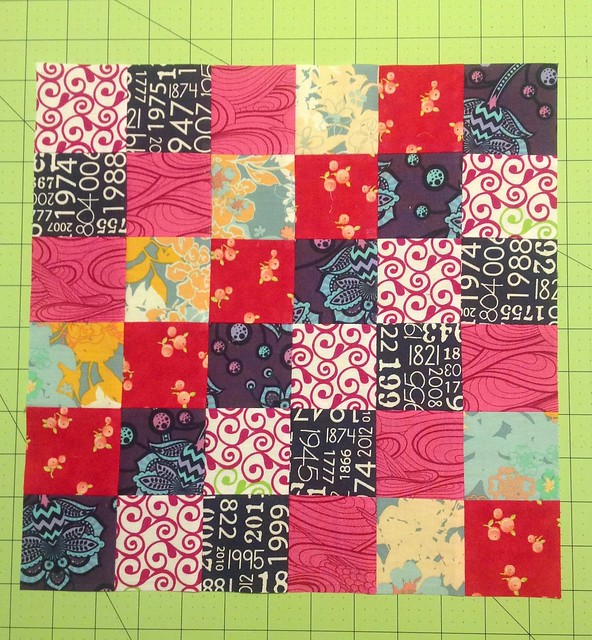
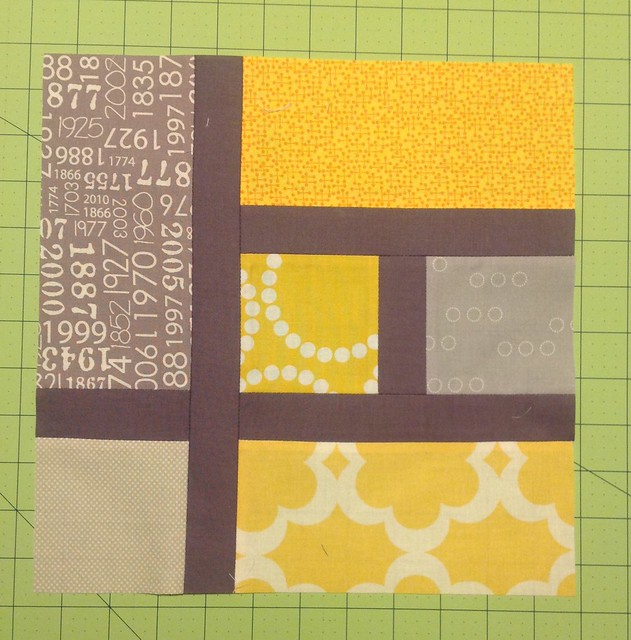
Two #dogoodstitches blocks for @xxnicke too!
Heal @ do.Good Stitches
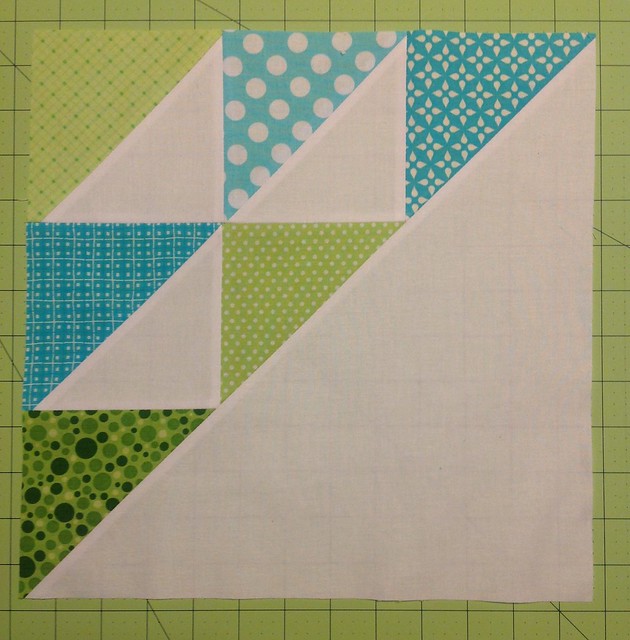
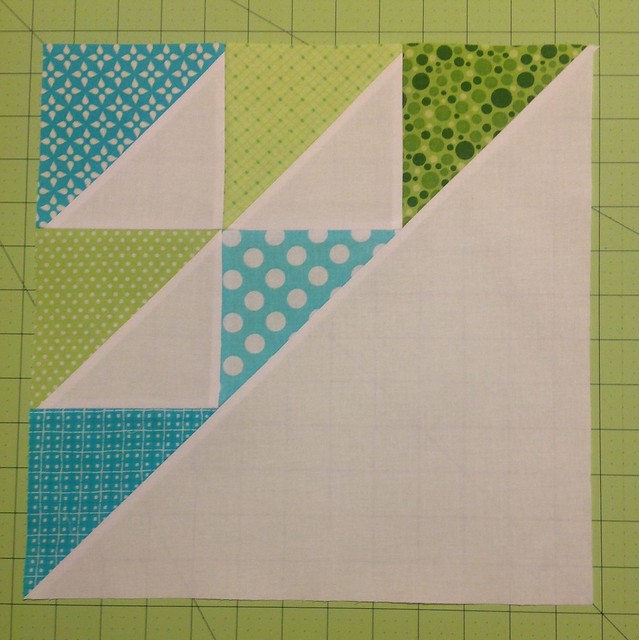
Heal @do.good stitches September blocks! #dogoodstitches
Heal @ do.Good Stitches
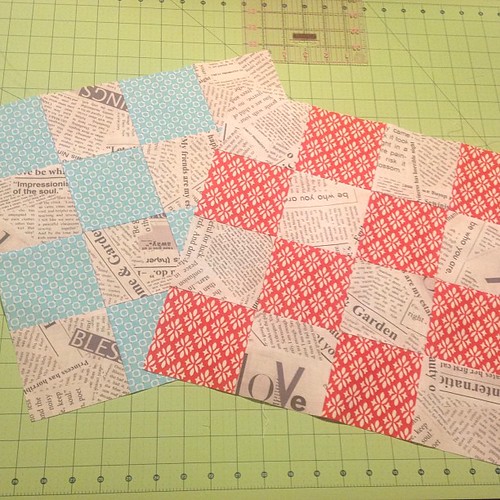
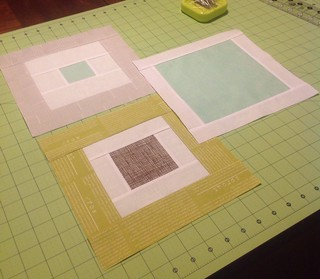
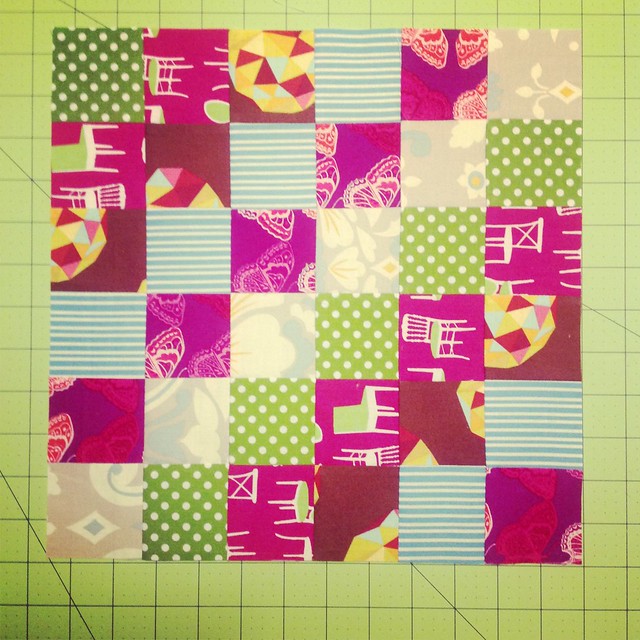
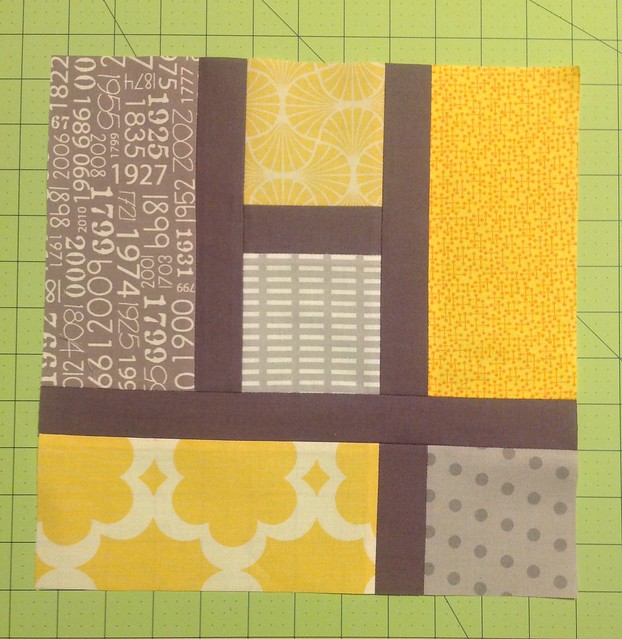
That Stash Bee September Blocks
That Stash Bee
xo
Kelsey

Wednesday, March 27, 2013

Tutorial: Wedge Pillow - Charmed Madness

Good morning everyone!  It's my day to share for Charmed Madness!

Charm Madness at Sew Lux Fabric


I've put together a tutorial to make this cute wedge pillow from your charm squares.


Materials Needed:
  • 24 Charm Squares
  • 1/4 Yard Coordinating Solid
  • 1/2 Yard or 2 FQs of Backing Fabric
  • Dresden Ruler
  • 18" Pillow Form
  • Usual sewing accoutrements - pins, rotary blade & mat, iron, etc 


 Step 1:  From your background fabric, cut 4 strips that are 2.25" x 18.25".  Set aside.

Step 2: Now you are going to cut your charms into wedges.  You will get two wedges from each charm for a total of 48 wedges.

  •  First, trim 1/4 off of each side of the charm - not off of the top and bottom.  Your square will now be 4.5"x5" and have two smooth edges.
  • Now you'll need your dresden ruler.  Lay your square  in front of you so that it is running 5" left to right.  Then set the ruler on your square lining the 4.5" marking with the top of the square.  Cut along both the left and right side of the ruler - see green lines on the picture below. (*A rotating cutting mat will make this a bit easier if you have one*) This will give you wedge 1 of 2.
  • To cut your second wedge you'll need to flip your ruler so that the 4.5" line is along the bottom of the square and the left side is lined up with your new diagonal edge.  Then cut along the ruler on the right side - see the green line on the picture below. 
  • Repeat for each charm (I cut mine in stacks of three) until you have 48 wedges.


Step 3: The next step is to piece all of the wedges into three rows.  There will be 16 wedges per row.  I pulled randomly as I put them together but you can also lay them out in the order you'd like.
  • To piece the wedges together you are going to choose two wedges, line up the long sides with the skinny end of one blade towards the wide end of the other.  Leave a small tip of the large wedge showing (see layout below) and then sew along the long matched -up side using a scant 1/4" seam.  Press seams open.
  • Continue adding wedges in the same manner (skinny towards wide).  Once pressed, you would lay  the skinny end of wedge #3  towards the wide edge of wedge #2 (Blue tails above) continuing on until you have 16 wedges in your row. Repeat to make 3 rows.
Step 4: Trim each of your rows to 18.25" x 4.25"


Step 5: Piece your pillow top together alternating background strips and wedge strips.


Step 6: Trim the pillow top to 18" square and set aside. 

*I made my pillow with an envelope back and I'm including the directions for you make yours like that as well.  If you'd rather make a different type, feel free!*

Step 7: From your backing fabric/s cut two squares that are 18" x 14".  Along one of the 18" sides of each backing piece press the fabric over 1/2" (towards the back) and then 1/2" again.  You can eyeball this.


Step 8:  Stitch along the pressed edge of each piece.  This stitching will show in your final product so be sure to use a coordinating thread.


Step 9: Time to make this into a pillow cover!  Lay your pillow top right side up on your table/mat.   Next lay one of your backing pieces, with the visible fold (i.e. wrong side) facing up towards you, matching the  18" unfolded side to the 18" right hand side of the pillow.  Then lay the other backing piece with the visible fold (i.e. wrong side) facing up towards you matching the unfolded 18" side along the left hand side of the pillow.  The second backing piece will cover the folded portion of the first piece you put down.  The backing pieces will, and you want them to, overlap.  Pin around the edges to secure.


Step 10: Sew all the way around the pillow using a 1/2" seam, backstitching at the end of each side for secure corners.  Once sewn, trim the corner flaps off but be careful not to cut where the stitches meet.


Step 11:  Turn your cover right side out, give it a press and insert your pillow form!  Voila!  A nice cheery pillow!


 If you decide to make a pillow for yourself please share your pictures!  Don't forget to stop by the Sew Lux Charmed Madness page to find links to the other tutorials as well as information about the giveaways and link-ups!
Monday, March 25, 2013

Not So Recent Finishes

I hope you're having a great start to your week.  I'm just popping in to post about some quilts that I finished months ago and haven't found time to share!

First up - a Swoon!  Yep I finished a Swoon!  This quilt was a wedding present for my cousin Molly, and her new husband, Mike.  It was definitely a labor of love (which involved a last minute vacation day from work so I could finish it in time) but was completely worth it since Molly has sent me multiple pictures of it in use!


The fabrics are Birds & Berries by Lauren & Jessi Jung with Kona White for the background.  I longarmed it myself with some simple loops.

 Next up are some baby quilts I finished back in December.  I posted some small pictures back then but wanted to share a bit more today.

I have two cousins who are sisters and were due in January & February of this year.  One had a girl and the other a boy so it was fun to make two completely different quilts.

This one went to Addison.  Just some simple pinwheels put together from a few Walk in the Woods charm packs I had.  I pieced the back out of some remaining charms and then quilted it with some loops as usual.


Blake was the lucky recipient of the other quilt.  I made a lot of sawtooth stars (10" blocks) using the Soaked collection from Connecting Threads.  This line had so many cute prints and the colors were different than the usual boy collections and I really liked that. 


LOVE those rain boots :)

Now I'm almost caught up on all of my quilty shares!  I do have one other finish from last week, a big quilt for my husband, which I need to get some pictures of, and another that I'm hoping to finish this week as well.

Don't forget to check out all of the great tutorials going on for Charmed Madness!  I'll be sharing a cute pillow tutorial on Wednesday.

Monday, March 18, 2013

Goodbye Google Reader

Sadly, Google Reader will be going away this summer!

I'm giving Bloglovin a try and so far I like it!  I also added Flipboard to my iPad and I really like that too!

If you'd like to follow my blog with Bloglovin here is the link:

Follow my blog with Bloglovin

Charm Madness!

Tomorrow is the kick-off of the Charm Madness blog hop hosted by Sew Lux Fabric and Gifts!  There is going to be 3 weeks jam-packed with tutorials, a linky, giveaways and prizes!  During the blog hop head here to find updated links to all the posts as we go along.


Charm Madness at Sew Lux Fabric


The Charm Madness Blog Hop Participants & Schedule

Tuesday 3/19 - Jennie at Clover & Violet
Wednesday, 3/20 - Jess at Sew Crafty Jess
Thursday, 3/21 - Rhonda at Quilter in the Gap
Friday, 3/22 - Jenelle at Echinops &Aster
Sunday, 3/24 - Week 1 Giveaway Post

Tuesday, 3/26 - Lori at Lori H Designs
Wednesday, 3/27 - Kelsey at Kelsey Sews
Thursday, 3/28 - Lindsay at CraftBuds/LindsaySews
Friday - 3/29 - Jennifer at That Girl, ThatQuilt
Saturday, 3/30 - Stacey at The Tilted Quilt
Sunday, 3/31 - Week 2 Giveaway Post

Monday, 4/1 - Alyce at Blossom Heart Quilts 
Tuesday, 4/2 - Wendi at prsd4tim2
Wednesday, 4/3 - Elizabeth at Don't Call Me Betsy
Thursday, 4/4 - Ginny at Fish Creek Studio
Saturday, 4/6 - Leona at Leona's Quilting Adventure
Sunday, 4/7 - Week 3 Giveaway Post
Plus - during the hop Sew Lux is offering 10% off all charm packs and mini charm packs now through March 22 at sewluxfabric.com

Friday, March 1, 2013

Stash Bee - March

I've been in the Stash Bee for quite a while now and March is my month to be the Queen Bee!! 

I want to share what I'm asking everyone to make for me since I'm so excited about this quilt!

I asked everyone to please make one large Cracker Scrap block with white background and scrappy red and blue for the colors.  My husband and I got married on the 4th of July and I'd love to have a 4th of July/Americana quilt!

I directed them to the great tutorial from Cut To Pieces with my adjustments below.

The large block in the tutorial is made of two parts with white focus and two with color focus.  I changed it up and asked for them all to be color focused.  If you want to make a fully color focused block for yourself  these are the pieces you'll need to cut:
  • 4 - 6" Squares White (cut diagonally into 2 triangles)
  • 4 - 2.75" x 7.25" White
  • 2 - 6" Squares Red (cut diagonally into 2 triangles)
  • 2 - 6" Squares Blue (cut diagonally into 2 triangles)
  • 4 - 2.75" x 7.25" Red
  • 4 - 2.75" x 7.25" Blue

Make two red units and two blue units.  Then piece your four units into one block with the colors opposite each other and all colored points in the middle like mine below.  The finished size will be 19.5" Square!


Are you in any bees?  What block did you ask for when it was your turn as Queen Bee?

Thursday, February 28, 2013

The Baseball Quilt

Months and months ago a friend asked if I would mind making a quilt for a raffle she was putting together for her son's baseball team.  They were raising money for a tip to Cooperstown.  I agreed and figured I would just make whatever I felt like when the time came.  Then she asked that it be baseball themed....hmm. 

I decided that I would use some baseball fabric mixed with other non-baseball prints so that it would be baseball without being too baseball - makes sense right?  I found a baseball print at Joann's as the focal point and then picked some coordinating blues and reds from my LQS. 


The Big Star Quilt tutorial from Missouri Star came through again.  I cannot recommend it enough!  This is my second time making a quilt from it and my mom is on her second quilt from it as well.  It whips up SO fast.  In the video she uses 10" squares.  I used 8" squares which I trimmed into 5" half-square triangles.  Each star block is 18.5" unfinished.

A little bit of loopy quilting and a striped binding (love!) and it was off to the raffle where my friend's mom won it!

Monday, February 18, 2013

January Bee Blocks

I'm still here!  I've been so busy sewing that I haven't had any time for blogging!!  I have two commissioned quilts to start/finish and then things will hopefully settle down.

In the meantime I thought I'd share my bee blocks from January.

do.Good Stitches

Heal @ do.Good Stitches Block #1

Heal @ do. Good stitches January block #2


That Stash Bee

That Stash Bee January Block #1

That Stash Bee January Block #2


Stash Bee

Stash Bee Hive #4 January Blocks

Stash Bee Hive #4 January Blocks

I really enjoy participating in bee groups.  It gives me a chance to try new blocks without committing to a whole quilt!

I'll be back soon with some more finished quilts including a SWOON!

Wednesday, January 16, 2013

WIP Wednesday 1-16-13

Well hello there!  I've been busy sewing and not too busy blogging but I do have lots to share soon!

The big finish this week is all of my blocks for the 3x6 bee.  I used the Two Stars Squared pattern by Diane, which you can buy on Craftsy.  I highly recommend the pattern!  All of my blocks stitched up perfectly and there aren't tons of tiny pieces.


Now I just need to finish the Swoon quilt I started!  Fingers crossed that I can finish the top this weekend!

Just in case you'd like to add a bit more fabric to your stash here are two great swaps going on -
 What are you working on this week?

Linking up at Freshly Pieced!


Thursday, January 3, 2013

2013 - A Lovely Year of Finishes - January Goal

I have deemed 2013 the year of finishing things!  I need to finish up (loads!) languishing projects and do a better job of not procrastinating.  I do think that cutting back on my sewing obligations will help although I need to do 3-4 quilts and 12 bee blocks this month!  This being said, when I saw the Lovely Year of Finishes that Shanna of Fiber of All Sorts and Melissa of Sew BitterSweet Designs put together I knew I needed to join in.

A Lovely Year of Finishes

My January project is to take this pretty stack of fabrics and finish making them into a Swoon quilt!  It must be finished  (quilted, bound etc) by the beginning of February so this is the perfect kick in the butt to get it done a week early!


So far I have the whole top cut out, one block pieced, and the remaining eight are partially chain-pieced together.  I already have my backing fabric too so I just need to get it done!

Linking up at the Goal Setting Party!

Wednesday, January 2, 2013

Year in Review & Hustle Winners

First up - The 100 Day Hustle winners!


Congratulations to all of our winners and a huge thank you to everyone who participated and to all of the shops who kindly donated prizes!  I will definitely be organizing something similar next year!


I decided that I was going to try new quilty things in 2012 and I did!  I joined bees, swaps, learned to paper piece and got a longarm! 

I completed 10 quilts, one that just needs binding and one top for a total of 12 for the year!


Between the bees and my do.Good Stitches group I made boatloads of blocks in 2012!
 

One goal for 2013 is to up the number of quilts and reduce the number of bee blocks.  I enjoy participating in bees but it can leave you feeling a bit overwhelmed at times.  Once I finish out the groups I'm in I'm just going to focus on quilts and my do.Good stitches group for a while and see how that goes!

Here's to a happy, healthy and quilty 2013!!!